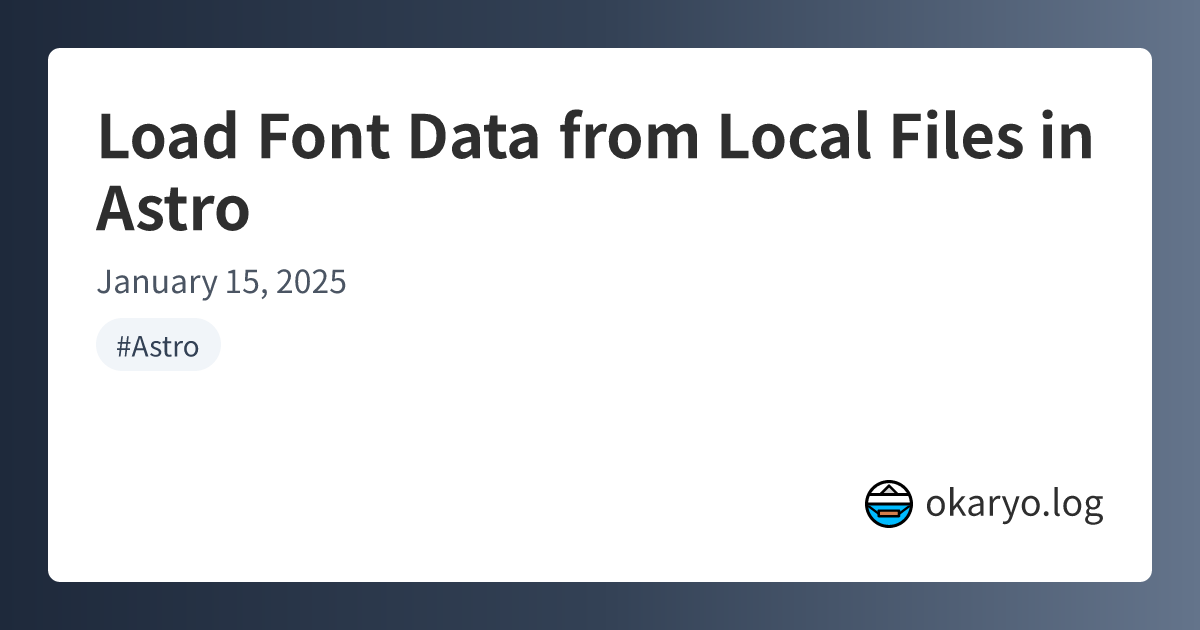
Automatically Generating OGP Images for Each Blog Post with satori in Astro
Introduction
After migrating this blog from Gatsby to Astro a while back, I implemented a method to automatically generate OGP images for each blog post using satori.
This post outlines how to achieve this.
Preparing for Image Generation
The library satori, developed by Vercel, converts JSX elements into SVGs. Since it processes JSX, you will need the react package. However, you don’t need react-dom as no DOM diffing is performed.
npm install satori react @types/reactBecause satori generates SVG images, these cannot be directly used as OGP images. To convert SVGs into PNG format, we’ll use resvg.
npm install @resvg/resvg-jsLastly, satori requires font data to handle text rendering within the generated images. In this example, we’ll use Noto Sans Japanese from Google Fonts.
Generating Images with satori
First, create a function to generate the images in src/utils/ogp.tsx:
import type { CollectionEntry } from 'astro:content';
import React from 'react';
import satori from 'satori';
import { Resvg } from '@resvg/resvg-js';
import RegularFont from "../assets/fonts/NotoSansJP-Regular.ttf";
import BoldFont from "../assets/fonts/NotoSansJP-Bold.ttf";

const generateOgpImage = async (element: React.ReactNode) => {
  const svg = await satori(
    element,
    {
      width: 1200,
      height: 630,
      fonts: [
        {
          name: "Noto Sans JP",
          data: Buffer.from(RegularFont),
          style: "normal",
          weight: 400,
        },
        {
          name: "Noto Sans JP",
          data: Buffer.from(BoldFont),
          style: "normal",
          weight: 600,
        },
      ],
    }
  );

  const resvg = new Resvg(svg, {
    fitTo: {
      mode: "width",
      value: 1200,
    },
  });
  const image = resvg.render();

  return image.asPng();
};

export const generateBlogPostOgpImage = (post: CollectionEntry<"post">) => {
  const { title, createdAt, tags } = post.data;

  return generateOgpImage((
    <div>blog title is {title}</div>
  ));
};

export const generateSiteOgpImage = () => {
  return generateOgpImage((
    <div>site ogp</div>
  ));
};
generateBlogPostOgpImage is for blog post pages, while generateSiteOgpImage is for other pages. For non-blog pages, you could place static OGP images in the public directory, but using this approach allows for easier style updates.
Refer to the official documentation for satori options. You can also preview generated images using the Playground.
Note: While fs.readFileSync is commonly used to load font files, Astro may throw a no such file or directory error. Refer to the following guide for a workaround:
Creating OGP Image Endpoints
Now that we can generate OGP images, let’s create endpoints to serve them. The endpoints will look like this:
- Blog post pages:
/posts/ogp/[slug].png - Other pages:
/ogp.png
Create the respective files src/pages/posts/ogp/[slug].png.ts and src/pages/ogp.png.ts. Astro allows creating endpoints for static files by naming files as filename.[file extension].[js|ts]. For more details, refer to:
// src/pages/posts/ogp/[slug].png.ts
import type { APIRoute } from "astro";
import { getCollection } from "astro:content";
import { generateBlogPostOgpImage } from "../../../utils/ogp";

export const GET: APIRoute = async ({ params }) => {
  const slug = params.slug;
  const posts = await getCollection("post");
  const post = posts.find((p) => p.slug === slug);
  const png = await generateBlogPostOgpImage(post!);

  return new Response(png, {
    headers: {
      'Content-Type': 'image/png',
    },
  });
};

export async function getStaticPaths() {
  const posts = await getCollection("post");
  return posts.map((post) => {
    return {
      params: { slug: post.slug },
    };
  });
}

// src/pages/ogp.png.ts
import type { APIRoute } from "astro";
import { generateSiteOgpImage } from "../utils/ogp";

export const GET: APIRoute = async () => {
  const png = await generateSiteOgpImage();

  return new Response(png, {
    headers: {
      'Content-Type': 'image/png',
    },
  });
};
With these endpoints, OGP images can now be served.
Adding OGP Images to Meta Tags
Finally, add the OGP images to the meta tags of each page. If you use a common layout like BaseLayout, you can configure the meta tags there:
---
import { siteConfig } from '../config';

interface Props {
  title: string;
  description: string;
  ogUrl?: string;
}

const {
  title,
  description,
  ogUrl = `${siteConfig.url}/ogp.png`,
} = Astro.props;
---

<!doctype html>
<html lang="en">
  <head>
    <meta property="og:title" content={title} />
    <meta property="og:description" content={description} />
    <meta property="og:image" content={ogUrl} />
    <meta property="og:type" content="website" />
  </head>
For blog post pages, pass the ogUrl as follows:
---
const { title, description } = post.data;
---

<BaseLayout
  title={`${title} | ${siteConfig.title}`}
  description={description}
  ogUrl={`${siteConfig.url}/posts/ogp/${post.slug}.png`}
>
  <Content />
</BaseLayout>
Now, OGP images are properly configured for both blog posts and other pages.
Conclusion
Satori is a convenient library for generating SVGs using familiar JSX syntax. Give it a try!


